
Making and putting up your own wind generator tower is not that hard. It is safer to do it with at least two people.
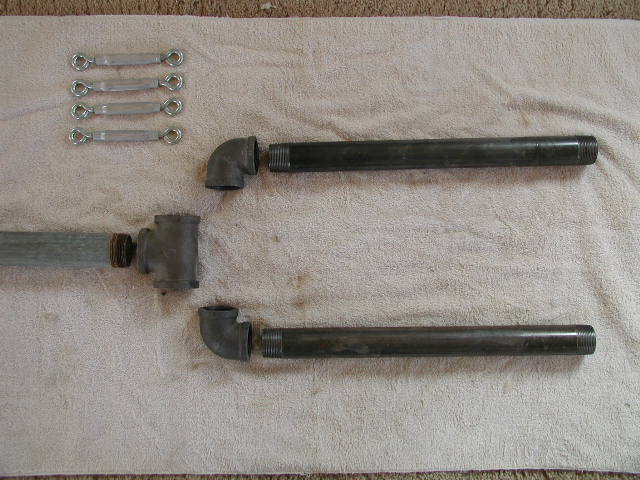
Base
2 X 2′ X 1 ¼” Steel Pipe Nipple
6″ X 1 ¼” Steel Pipe Nipple
2 X 1 ¼” 90 elbow
1 ½” Steel Pipe T
Pole
10 – 30 ft piece of 1 ½” Steel Pipe
2 pieces #8 Copper Stranded Wire (must be long enough to go through the pole to the batteries)
Guy System
1 ½” U-bolt
4 X Guy Wires, at least 25ft long (must be long enough to go from pole to stakes)
4 X Stakes
4 X Turnbuckles
Pipe Wrench
Vise
Shovel
Wheel Barrow (mix concrete)
Wire Strippers
Drill and Drill Bit


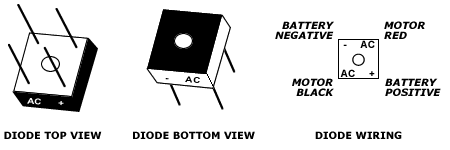 Wrap the positive (red) wire from Chispito to the positive (red) wire going through the pole. Secure the connection, and use either wire nuts or heat-shrink connectors. Do the same for the negative wires.


